Units within the Quantum Rift Adventure Card Game can either be ready, exhausted or damaged at any one time. We show exhausted with a blue counter, damaged with a red counter and ready (the default state) without either counter, as in the photo below.

- Units enter play in the ready state. When a ready unit attacks or an effect exhausts a ready unit, it changes to the exhausted state. When an effect damages a ready unit (or exhausted unit), it changes to the damaged state.
- Units that are exhausted remain in this state until they are either readied (back to the ready state), which happens at the start of every turn, or an effect damages them to put them in the damaged state. Note: An exhausted unit can’t attack or exhaust again.
- Units that are damaged remain in this state until they are either revived (back to the exhausted state) or an effect attempts to damage them again, which causes them to be destroyed (or lose 1 vitality if the unit has vitality). Note: A damaged unit can’t attack, can’t be readied and can’t exhaust.
Hopefully, it’s clear that becoming exhausted is not usually a problem because that only lasts until the start of the next turn, while becoming damaged is something to avoid unless you have some revival tricks up your sleeve (or in your hand). But, either way, if you are not ready when you get your chance to attack then you won’t be able to. Speaking of which, let’s look at the phases of the turn and see where this chance to attack might come.
Each of your turns playing the Quantum Rift Adventure Card Game proceeds through five phases after the start of turn, when exhausted units become ready again:
- DEPLOYMENT
- COMBAT (when ready units can attack, in order decided by player)
- EXPLORE
- THREAT (when THREAT effects are triggered)
- REGROUP (when REGROUP effects are triggered)
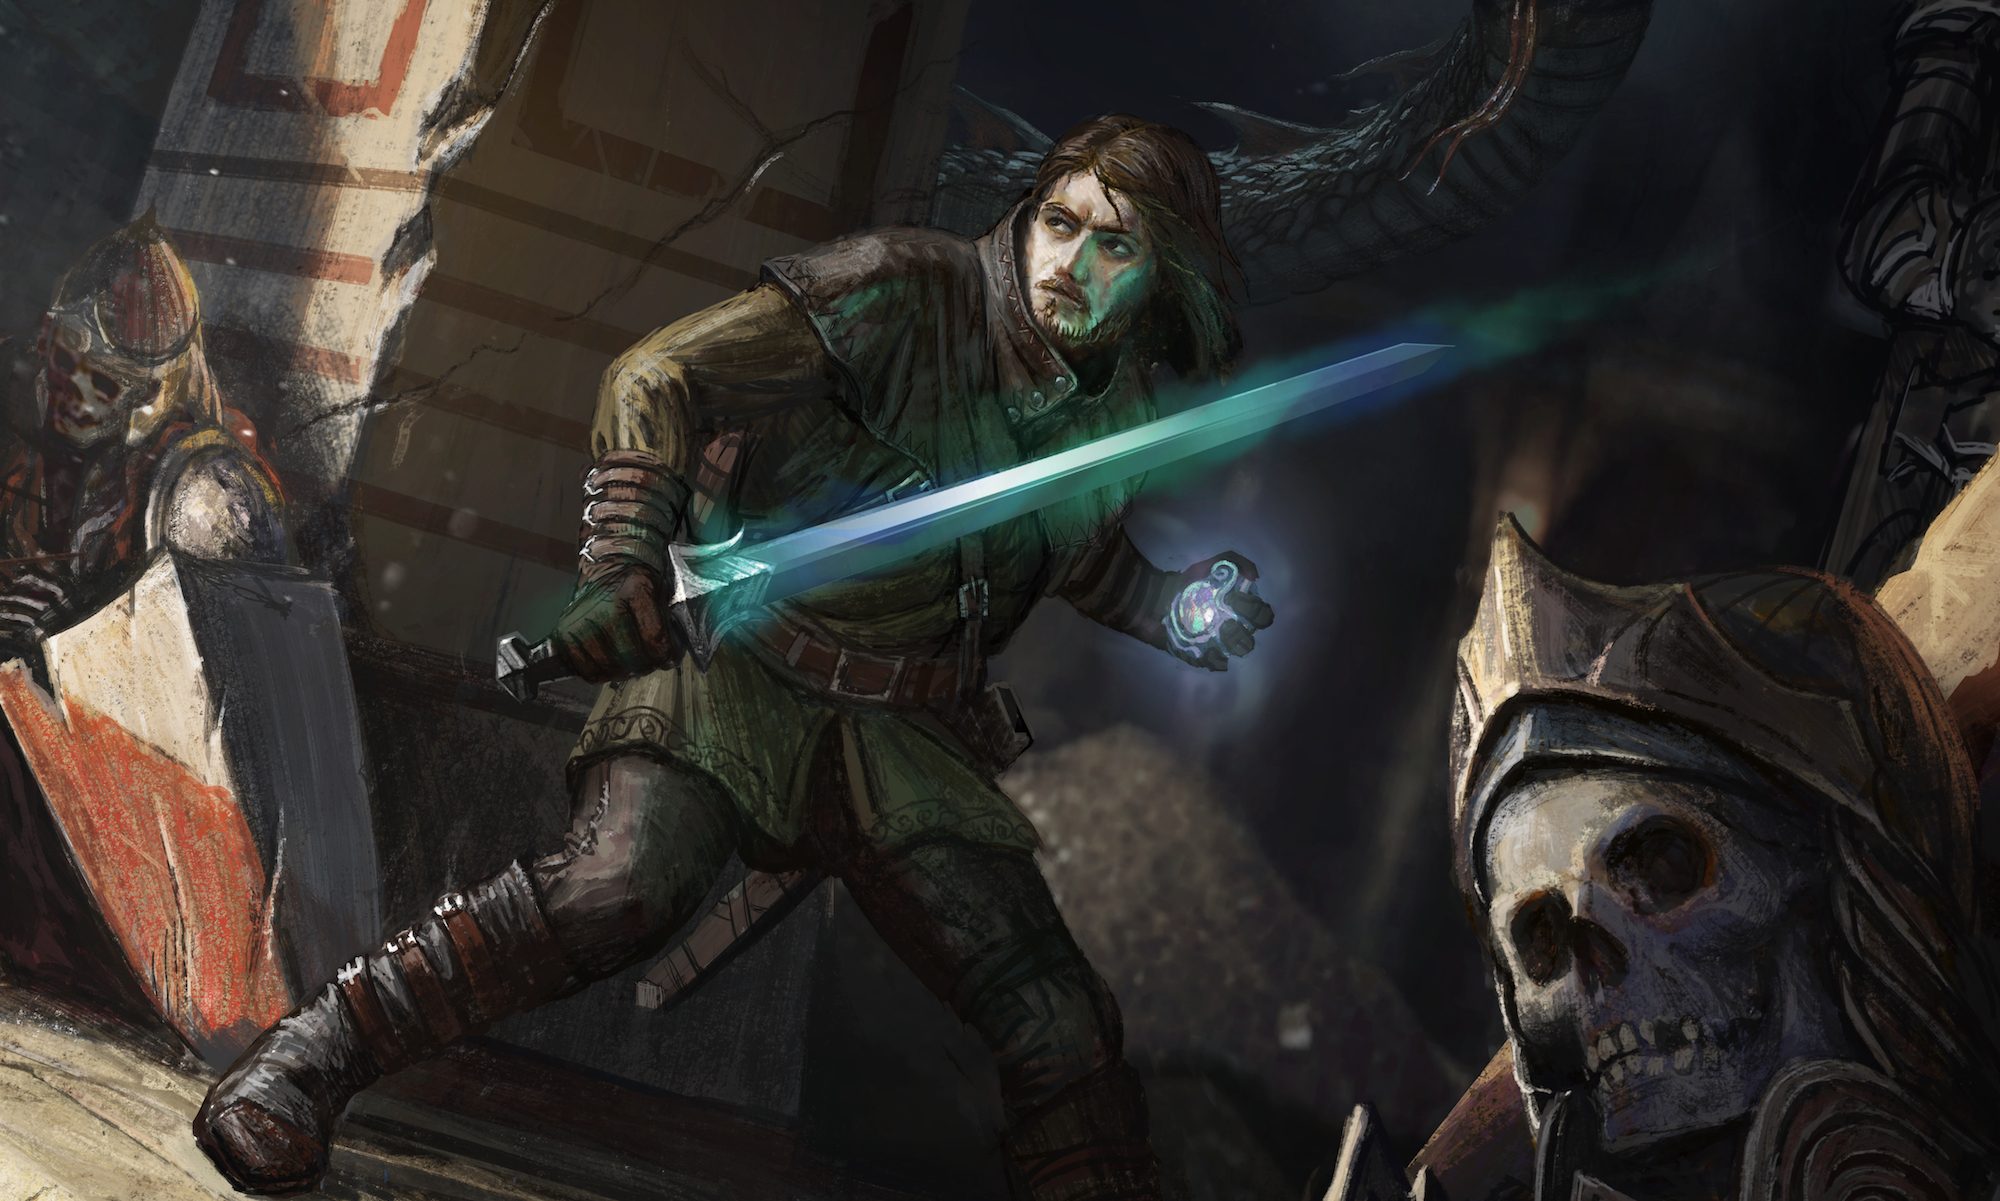
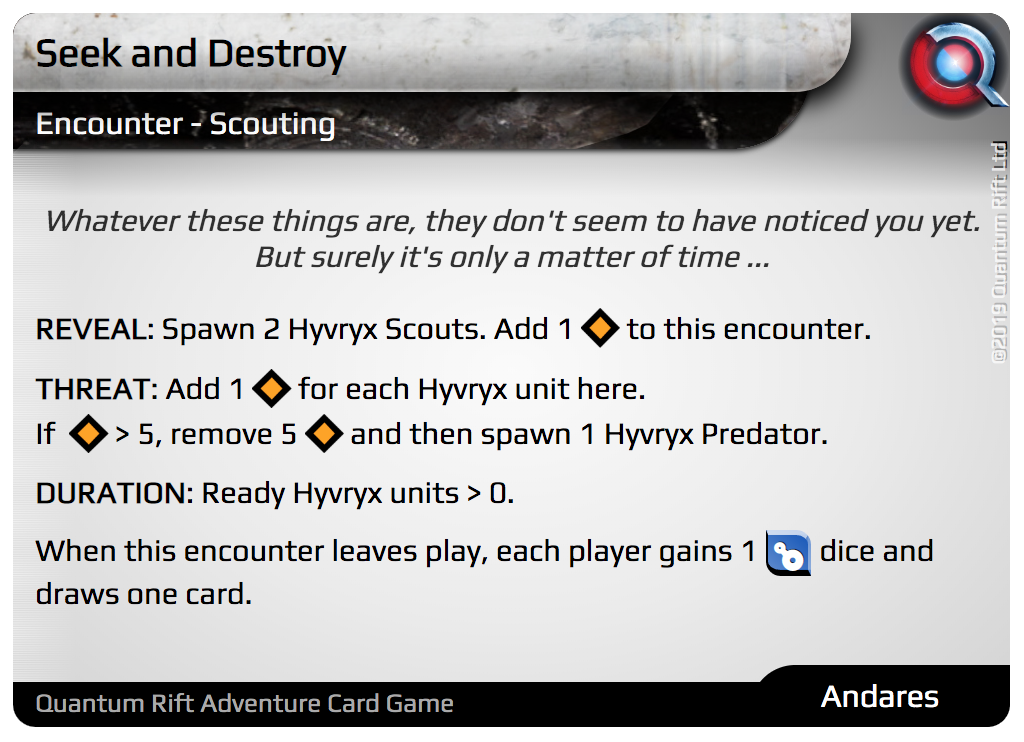
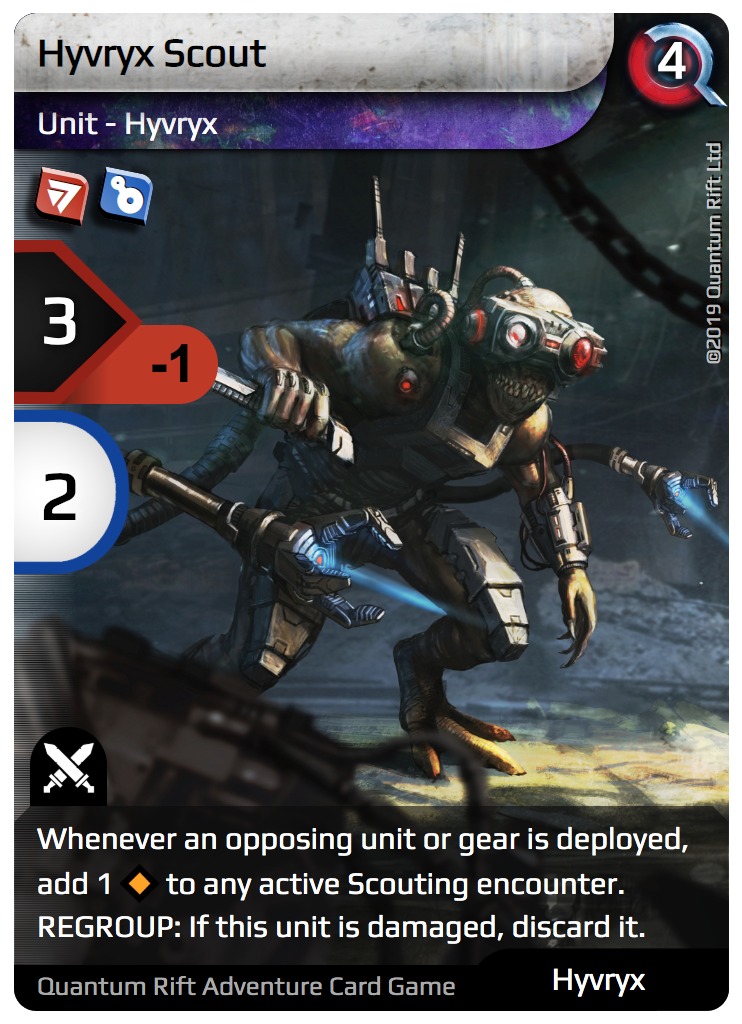
Thinking back to the predicament we left Sabrien Reed in at the end of our previous post, face-to-face with two Hyvryx Scouts thanks to the Seek and Destroy Encounter, let’s assume it’s the start of the turn and see how this plays out.

Deployment Phase – Although we might have some gear in hand to deploy, let’s assume we don’t deploy it now because of the first effect on each Hyvryx Scout, which would cause 2 Charge to be added to the Encounter! (“Whenever an opposing unit or gear is deployed, add 1 Charge to any active Scouting encounter”).
Combat Phase – At the start of this phase, all three units are ready and able to attack. Fortunately, for you, the attack order is decided by the player! Assuming Sabrien attacks first, the following outcomes are possible:
- Sabrien is exhausted (from attacking), one Scout is damaged (from Sabrien achieving more Hits than its Defence), one Scout is still ready.
- Sabrien is exhausted (from attacking), one Scout is exhausted (from Sabrien only managing Hits equal to its Defence), one Scout is still ready.
- Sabrien is exhausted (from attacking), one Scout is ready (from Sabrien getting fewer Hits than its Defence), one Scout is still ready.
Given that Sabrien gets to roll 3 Attack dice with a +1 roll bonus and 1 guaranteed Hit, the last outcome seems very unlikely, especially with the chance to Rift. In fact, the chance to Rift on each roll and 4+ being considered an Attack success means you can virtually guarantee you will damage one of the Scouts, so let’s assume the first outcome is what happened. Great! For reasons that will become clear in a future post that covers the Combat Phase in more detail, let’s assume the remaining Scout does not attack Sabrien.
Explore Phase – Ordinarily, you might be able to do something interesting here (which you will see in the next post), but we must skip this phase if there is an active Encounter, so onto the next phase …
Threat Phase – We must trigger the THREAT effect of the Encounter, which puts 2 additional Charge on it.
Regroup Phase – We now trigger the REGROUP effect on the damaged Scout to discard it, leaving just the one ready Scout.
We’ve now reached the next turn, which we might expect would play out similarly to this one, with all units starting out ready again and Sabrien attacking, but something special happens after Sabrien damages the remaining Scout: there are no longer any ready Hyvryx units in play to satisfy the Encounter’s DURATION, so the Encounter ends immediately!
Hurrah! Sabrien has survived his first encounter on Andares. Not only that, he is about to get his first chance to explore this mysterious world, far away from his home, in both space and time! Be sure to join us next time when we will get to explore what happens next together.


